Pelco ES31PC User Manual
Browse online or download User Manual for Security cameras Pelco ES31PC. Pelco ES31PC User's Manual
- Page / 68
- Table of contents
- TROUBLESHOOTING
- BOOKMARKS
- ES30PC/ES31PC Esprit 1
- CONTENTS 2
- LIST OF TABLES 3
- 4 C311M-L (1/05) 4
- IMPORTANT SAFETY INSTRUCTIONS 5
- DESCRIPTION 6
- INSTALLATION 7
- Connect wires and cables 8
- Troubleshooting 9
- Appendix 9
- 10 C311M-L (1/05) 10
- C311M-L (1/05) 11 11
- POWER-UP DISPLAY 12
- HOW TO OPERATE YOUR SYSTEM 12
- OPERATING NOTES 12
- ALERT LABEL CYCLE 13
- ALERT RESET 13
- PAN AND TILT FUNCTIONS 14
- SCAN SPEED 14
- PRESET FUNCTIONS 14
- CURRENT READING MENU 14
- Zone Blank 15
- Programming 15
- Wiper Mode 15
- 16 C311M-L (1/05) 16
- C311M-L (1/05) 17 17
- 18 C311M-L (1/05) 18
- PROGRAMMING 19
- Alert Menu 20
- Camera Menu 23
- Next Menu 23
- Auto Iris Menu 24
- IR Filter Menu 25
- Sharpness Menu 26
- Other Menu 27
- AZ/EL LINE 28
- AZIMUTH ZERO 29
- DIRECTION 31
- DIRECTION LINE 32
- DISPLAY DURATION 33
- Gain/AGC Menu 34
- Limit Stop Menu 36
- C311M-L (1/05) 37 37
- Scan Limit Stops 38
- Line Sync Menu 39
- Power-Up Menu 43
- White Balance Menu 50
- Wiper Menu 51
- Zone Blank Menu 52
- TROUBLESHOOTING 56
- C311M-L (1/05) 57 57
- MAINTENANCE 58
- C311M-L (1/05) 59 59
- APPENDIX 60
- (Continued on next page) 61
- C311M-L (1/05) 63 63
- SPECIFICATIONS 64
- C311M-L (1/05) 65 65
- 66 C311M-K (9/04) 66
- REVISION HISTORY 67
Summary of Contents
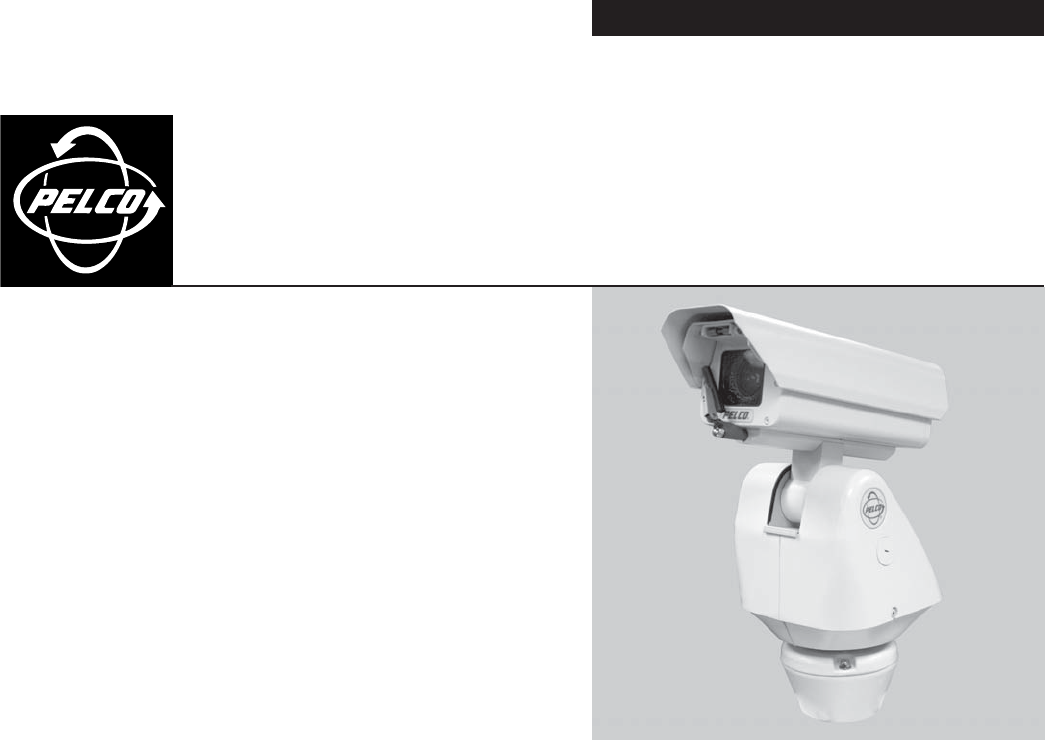
ES30PC/ES31PC Esprit®with Pressurized IOCC311M-L (1/05)®INSTALLATION/OPERATIONU.S. Patent D-472.260
10 C311M-L (1/05)TXB SERIES TRANSLATOR BOARD INSTALLATION (OPTIONAL)Pelco’s TXB Series allows controllers from other companies to communicate with the
C311M-L (1/05) 11HOW TO REINSTALL THE PAN AND TILT COVERThe pan and tilt covers must be properly seated and have a tight seal all the way around when
12 C311M-L (1/05)OPERATIONPOWER-UP DISPLAYWhen the system is powered up, the selected protocol, revision number, and other information is displayed on
C311M-L (1/05) 13PRESSURIZED INTEGRATED OPTICS CARTRIDGEThe pressurized IOC houses an auto focus camera, lens, heater, and sensors in a self-contained
14 C311M-L (1/05)CURRENT READING MENUThe Current Reading menu displays the existing status of temperature, pressure, and dewpoint inside the integrate
C311M-L (1/05) 15ZONESA zone is a programmed pan area with set boundaries and identifying label. The Esprit system has a maximum of eight zones, each
16 C311M-L (1/05)PROGRAMMING – ES30PC16/ES31PC16Backlight comp OffZoom limit x- -Reset camera<Gain/AGC><Auto iris>NextExitCamera MenuLin
C311M-L (1/05) 17PROGRAMMING – ES30PC22/ES31PC22Gain Limit 7ExitGain/AGC MenuAuto-iris mode AutoAuto-iris level 66Auto-iris peak 16ExitAuto Iris M
18 C311M-L (1/05)PROGRAMMING – ES30PCBW18/ES31PCBW18Gain Limit 28ExitGain/AGC MenuAuto-iris mode AutoAuto-iris level 91Auto-iris peak 16ExitAuto I
C311M-L (1/05) 19PROGRAMMINGACCESSING MAIN MENU (PRESET 95)You can call up the main menu on your monitor by programming (setting or creating) preset 9
2 C311M-L (1/05)CONTENTSSection PageIMPORTANT SAFETY INSTRUCTIONS ...
20 C311M-L (1/05)ACK ACT (ACKNOWLEDGE ACTION)If an enivornmental condition inside of the IOC goes outside of the factory set limits (such as “Low Pres
C311M-L (1/05) 21ALERT DISPLAY POSITIONScreen positioning of the alert label is user-defined. Positioning options include the following:To set the ale
22 C311M-L (1/05)ALERT REPEATYou can program how often an ALERT label is repeatedly displayed until it is acknowledged by the system controller. The f
C311M-L (1/05) 23<Camera><Line Sync><Power Up><Wiper><Limit Stop><Alert><Other>ACK AlertExitMAIN MENUBacklig
24 C311M-L (1/05)<Camera><Line Sync><Power Up><Wiper><Limit Stop><Alert><Other>ACK AlertExitMAIN MENUBacklig
C311M-L (1/05) 25<Camera><Line Sync><Power Up><Wiper><Limit Stop><Alert><Other>ACK AlertExitMAIN MENUBacklig
26 C311M-L (1/05)AUTO SHARPNESS<Camera><Line Sync><Power Up><Wiper><Limit Stop><Alert><Other>ACK AlertExitMA
C311M-L (1/05) 27<Camera><Line Sync><Power Up><Wiper><Limit Stop><Alert><Other>ACK AlertExitMAIN MENUProport
28 C311M-L (1/05)<Camera><Line Sync><Power Up><Wiper><Limit Stop><Alert><Other>ACK AlertExitMAIN MENUProport
C311M-L (1/05) 29<Camera><Line Sync><Power Up><Wiper><Limit Stop><Alert><Other>ACK AlertExitMAIN MENUProport
C311M-L (1/05) 3GAIN/AGC ...
30 C311M-L (1/05)<Camera><Line Sync><Power Up><Wiper><Limit Stop><Alert><Other>ACK AlertExitMAIN MENUBacklig
C311M-L (1/05) 31<Camera><Line Sync><Power Up><Wiper><Limit Stop><Alert><Other>ACK AlertExitMAIN MENUProport
32 C311M-L (1/05)<Camera><Line Sync><Power Up><Wiper><Limit Stop><Alert><Other>ACK AlertExitMAIN MENUProport
C311M-L (1/05) 33<Camera><Line Sync><Power Up><Wiper><Limit Stop><Alert><Other>ACK AlertExitMAIN MENUProport
34 C311M-L (1/05)GAIN LIMITThe gain limit sets the maximum level for the automatic gain control. Increasing the level will increase the signal level a
C311M-L (1/05) 35<Camera><Line Sync><Power Up><Wiper><Limit Stop><Alert><Other>ACK AlertExitMAIN MENUBacklig
36 C311M-L (1/05)<Camera><Line Sync><Power Up><Wiper><Limit Stop><Alert><Other>ACK AlertExitMAIN MENULimit S
C311M-L (1/05) 37LIMIT STOPS MENUThe manual pan limit stops can be set at the controller using the Limit Stops menu:1. Program preset 95 (28). The mai
38 C311M-L (1/05)Scan Limit StopsWhen scan limit stops are set, the pan and tilt reverses direction during random, frame, or auto scanning when a limi
C311M-L (1/05) 39<Camera><Line Sync><Power Up><Wiper><Limit Stop><Alert><Other>ACK AlertExitMAIN MENULine Sy
4 C311M-L (1/05)
40 C311M-L (1/05)<Camera><Line Sync><Power Up><Wiper><Limit Stop><Alert><Other>ACK AlertExitMAIN MENUBacklig
C311M-L (1/05) 41<Camera><Line Sync><Power Up><Wiper><Limit Stop><Alert><Other>ACK AlertExitMAIN MENUProport
42 C311M-L (1/05)<Camera><Line Sync><Power Up><Wiper><Limit Stop><Alert><Other>ACK AlertExitMAIN MENUProport
C311M-L (1/05) 43<Camera><Line Sync><Power Up><Wiper><Limit Stop><Alert><Other>ACK AlertExitMAIN MENUPower U
44 C311M-L (1/05)<Camera><Line Sync><Power Up><Wiper><Limit Stop><Alert><Other>ACK AlertExitMAIN MENUProport
C311M-L (1/05) 45Default Setting<Camera><Line Sync><Power Up><Wiper><Limit Stop><Alert><Other>ACK AlertExitM
46 C311M-L (1/05)<Camera><Line Sync><Power Up><Wiper><Limit Stop><Alert><Other>ACK AlertExitMAIN MENUProport
C311M-L (1/05) 47<Camera><Line Sync><Power Up><Wiper><Limit Stop><Alert><Other>ACK AlertExitMAIN MENUBacklig
48 C311M-L (1/05)<Camera><Line Sync><Power Up><Wiper><Limit Stop><Alert><Other>ACK AlertExitMAIN MENUBacklig
C311M-L (1/05) 49<Camera><Line Sync><Power Up><Wiper><Limit Stop><Alert><Other>ACK AlertExitMAIN MENUProport
C311M-L (1/05) 5IMPORTANT SAFETY INSTRUCTIONS1. Read these instructions.2. Keep these instructions.3. Heed all warnings.4. Follow all instructions.5.
50 C311M-L (1/05)Auto white bal OnRed bal level 182Blue bal level 182ExitWhite Balance Menu<Camera><Line Sync><Power Up><Wiper>
C311M-L (1/05) 51<Camera><Line Sync><Power Up><Wiper><Limit Stop><Alert><Other>ACK AlertExitMAIN MENUWiper M
52 C311M-L (1/05)<Camera><Line Sync><Power Up><Wiper><Limit Stop><Alert><Other>ACK AlertExitMAIN MENUProport
C311M-L (1/05) 53<Camera><Line Sync><Power Up><Wiper><Limit Stop><Alert><Other>ACK AlertExitMAIN MENUProport
54 C311M-L (1/05)<Camera><Line Sync><Power Up><Wiper><Limit Stop><Alert><Other>ACK AlertExitMAIN MENUBacklig
C311M-L (1/05) 55<Camera><Line Sync><Power Up><Wiper><Limit Stop><Alert><Other>ACK AlertExitMAIN MENUProport
56 C311M-L (1/05)TROUBLESHOOTINGNOTE: The system contains no user-serviceable parts. If there is a problem with your system, it must be returned to P
C311M-L (1/05) 57Symptom: No video or poor video1. Check the video and power connections to the camera.2. Check for power to the camera from the Espri
58 C311M-L (1/05)MAINTENANCEClean the enclosure window periodically with a mild non-abrasive detergent in water and a soft cloth to help maintain pict
C311M-L (1/05) 59008642. Open hinge door to the system. Remove the cap screw that secures the wiperboard. Unplug the ribbon cable connector.00866RIBBO
6 C311M-L (1/05)DESCRIPTIONThe ES30PC/ES31PC Esprit Series is designed to protect camera optics and electronics from moisture and airborne contaminant
60 C311M-L (1/05)APPENDIXNOTE: Esprit will sense and automatically select input from Coaxitron control signals in either the standard or extended mod
C311M-L (1/05) 61Table B. Switch Settings for SW2NOTE: The Esprit will sense and automatically select input from Coaxitron control signals in either
62 C311M-L (1/05)Table B. Switch Settings for SW2 (Continued)(Continued on next page)Receiver Address Switch SettingP-Type D-TypeControl Control SW2-
C311M-L (1/05) 63Table B. Switch Settings for SW2 (Continued)Receiver Address Switch SettingP-Type D-TypeControl Control SW2-1 SW2-2 SW2-3 SW2-4 SW2-
64 C311M-L (1/05)SPECIFICATIONSELECTRICALInput Voltage: 24, 120, or 230 VAC, 50/60 Hz; switch selectable for 120/230 VAC inputs. Reset feature enabled
C311M-L (1/05) 65SensitivityES30PC16/ES31PC16: 0.05 lux at 1/2-second shutter speed (NTSC)0.05 lux at 1/1.5-second shutter speed (PAL)ES30PC22/ES31PC2
66 C311M-K (9/04)
REVISION HISTORYManual # Date CommentsC311M 6/01 Original version.C311M-A 8/02 Camera modifications.C311M-B 9/02 Revised per ECO #02-8063.C311M-C 11/0
Worldwide Headquarters3500 Pelco WayClovis, California 93612 USAUSA & CanadaTel: 800/289-9100Fax: 800/289-9150InternationalTel: 1-559/292-1981Fax:
C311M-L (1/05) 7INSTALLATION When installing the ES30PC/ES31PC Esprit® system, allow for sufficient clearance between the top of the unit and overhea
8 C311M-L (1/05) Route the wires and cables through the center of the Esprit mount. Reinstallthe transformer module into the base. The transformer mo
C311M-L (1/05) 9 Turn on the power. If the red LED lights, turn off the power and proceed to the next step. If the red LED does not light, refer to t
Related products and manuals for Security cameras Pelco ES31PC
 (12 pages)
(36 pages)
(56 pages)
(44 pages)
(44 pages)
(24 pages)
(13 pages)
(12 pages)
(12 pages)
(32 pages)
(24 pages)
(6 pages)
(32 pages)
(20 pages)
(12 pages)
(36 pages)
(56 pages)
(44 pages)
(44 pages)
(24 pages)
(13 pages)
(12 pages)
(12 pages)
(32 pages)
(24 pages)
(6 pages)
(32 pages)
(20 pages)
© 2020, manymanuals.com. All rights reserved. | 1.917 s |
 Manymanuals.com
 Manymanuals.de
 Manymanuals.fr
 Manymanuals.it
 Manymanuals.pl
 Manymanuals.cz
 Manymanuals.es
 Manymanuals-pt.com
Comments to this Manuals